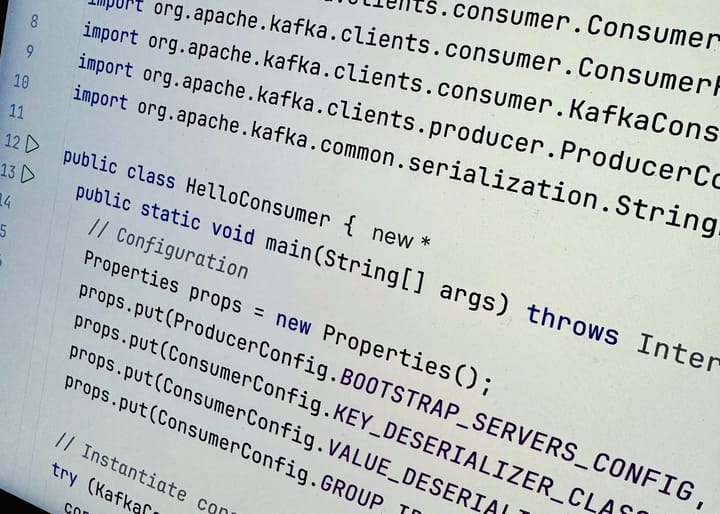
This is a guide on how to run Apache Kafka® locally, and how to start using it. I found the resources I used myself to be needlessly and frustratingly complicated, as well as outdated. Thus my goal is to give a simple set of instructions that works almost everywhere, regardless of operating system, etc.
Structure
The guide has three parts.
- Install podman and use it to start an Apache Kafka®-cluster
- Configure IntelliJ IDEA to connect to the Apache Kafka®-cluster.
- Write two separate programs in Java that publishes and consumes a "Hello, world!"-record respectively.
Requirements
If you lack anything you can follow the guide up until the point it is needed. The requirements are, in order:
- Podman or Docker
- IntelliJ IDEA Ultimate (Optional)
- JDK 17+
Start a local Apache Kafka®-cluster
Install Podman
First, if you have not yet installed Podman, just follow the instructions on their website. The desktop client is in no way required if you prefer the CLI, but the next steps will presume you have access to the Podman Desktop GUI. It is also possible to use Docker Desktop, but I personally avoid it due to their lisencing.
Follow the instructions on their page to install Podman Desktop.
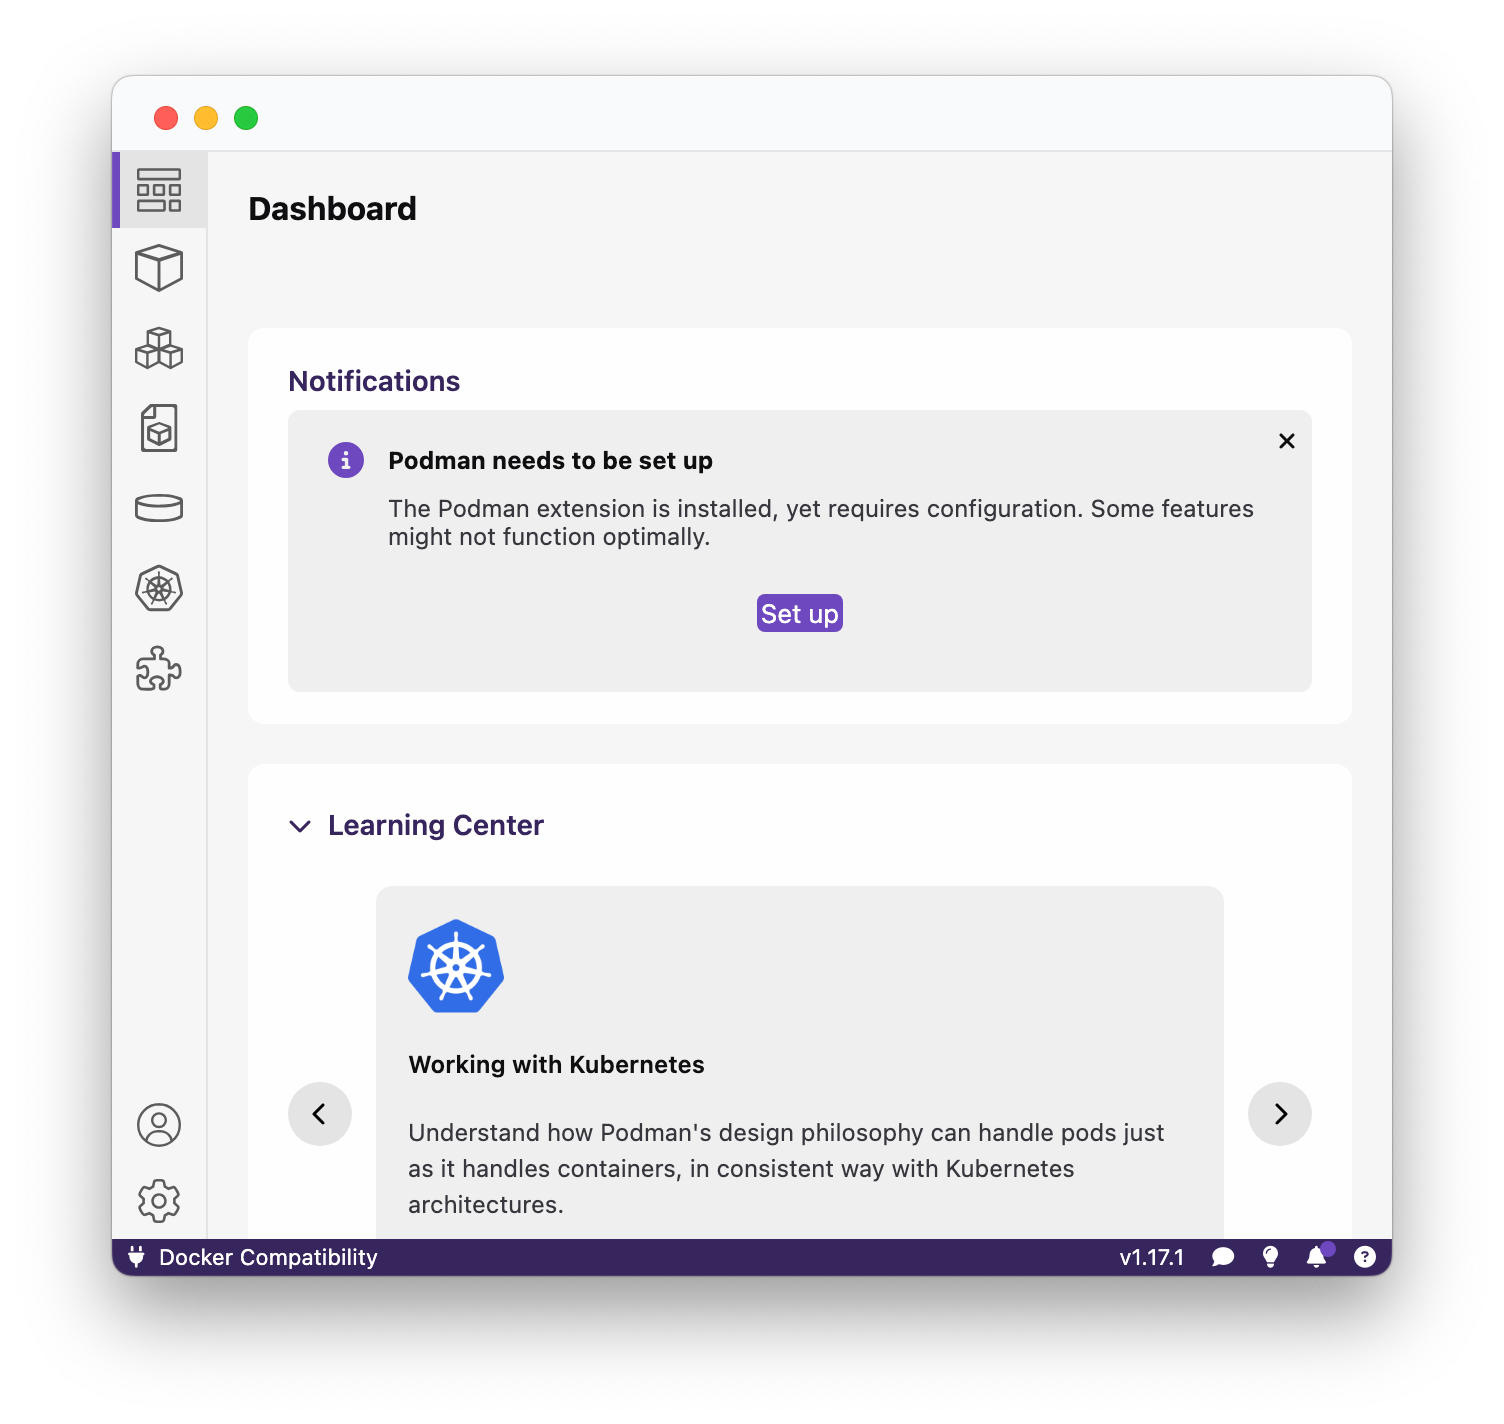
After installation, you will need to setup a podman machine. Just open Podman Desktop, and you will be prompted to do so.
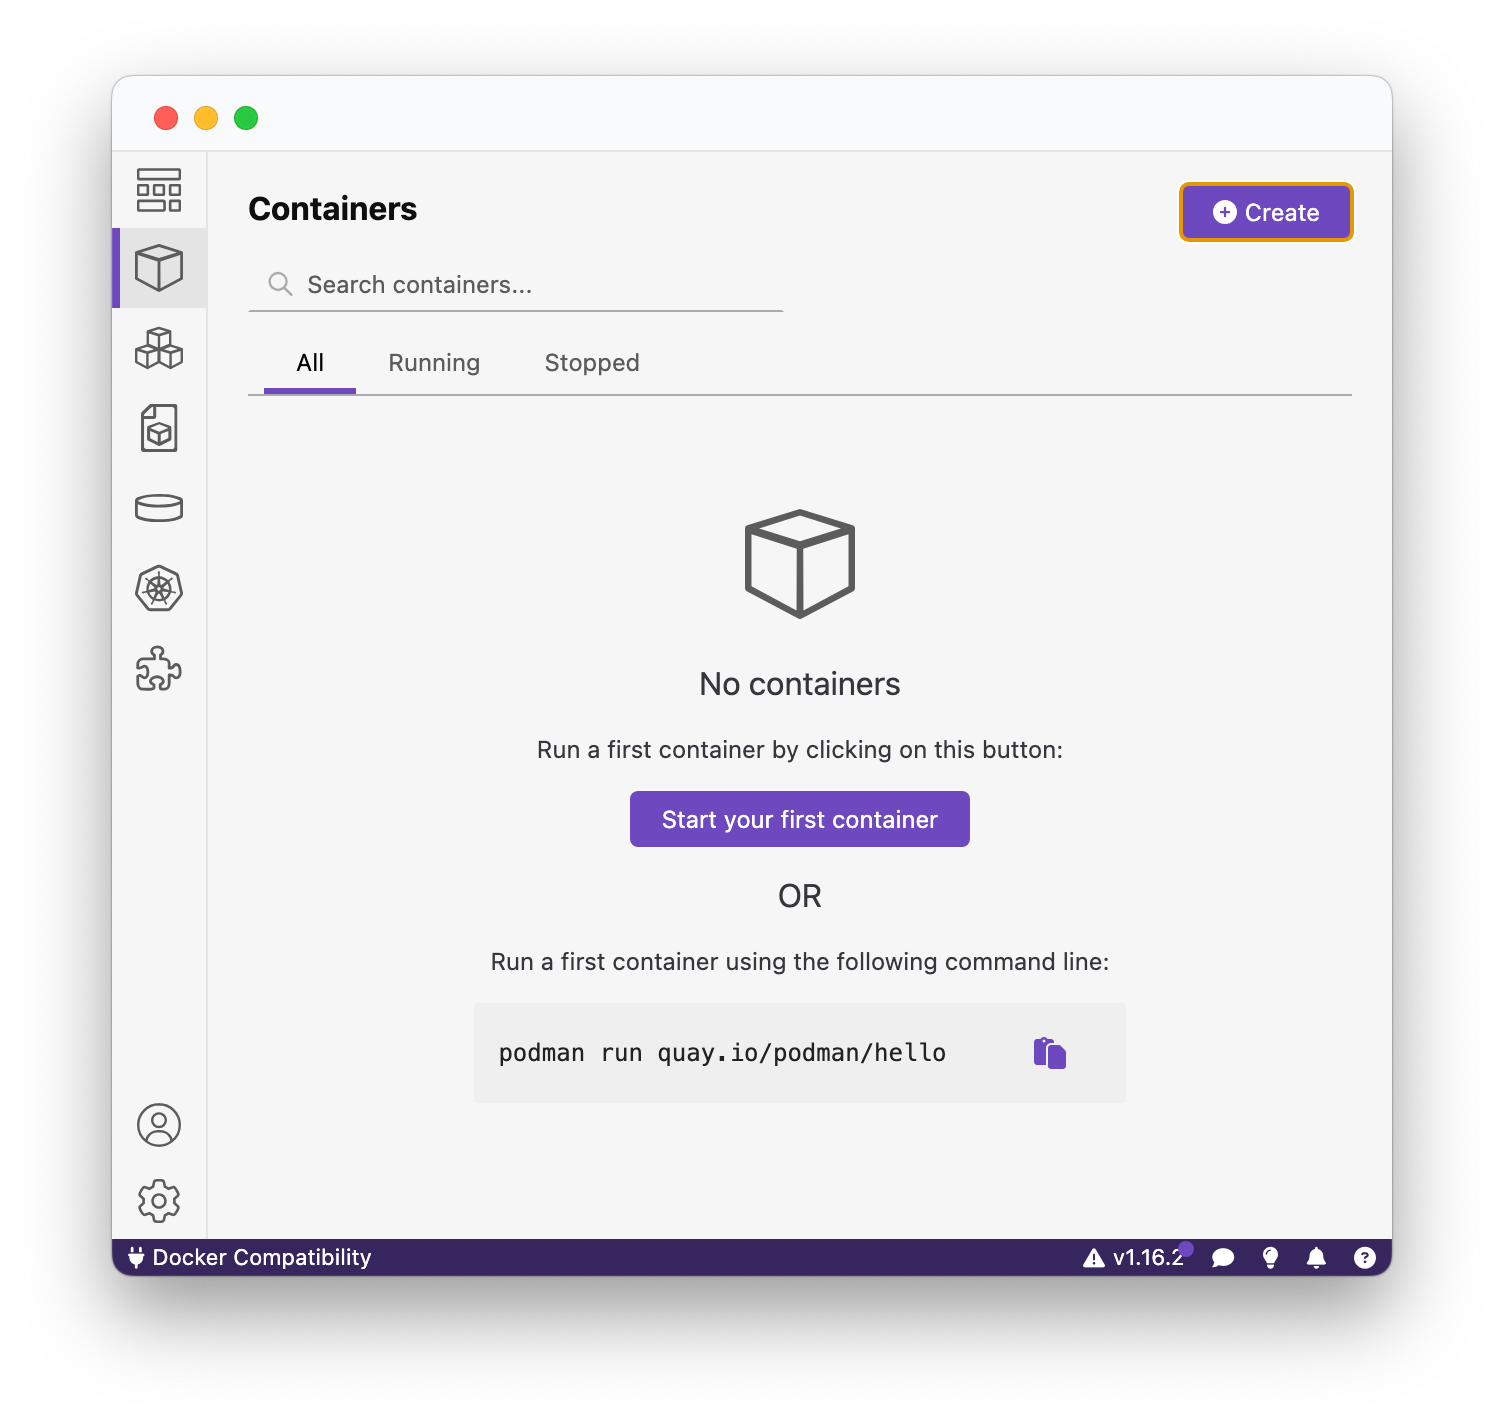
Pull and Run the Apache Kafka® Container Image
An image says more than a thousand words, so here are several of them to follow along. Our goal in this section is to download the official Apache Kafka®-image from Dockerhub, and run it with Podman.
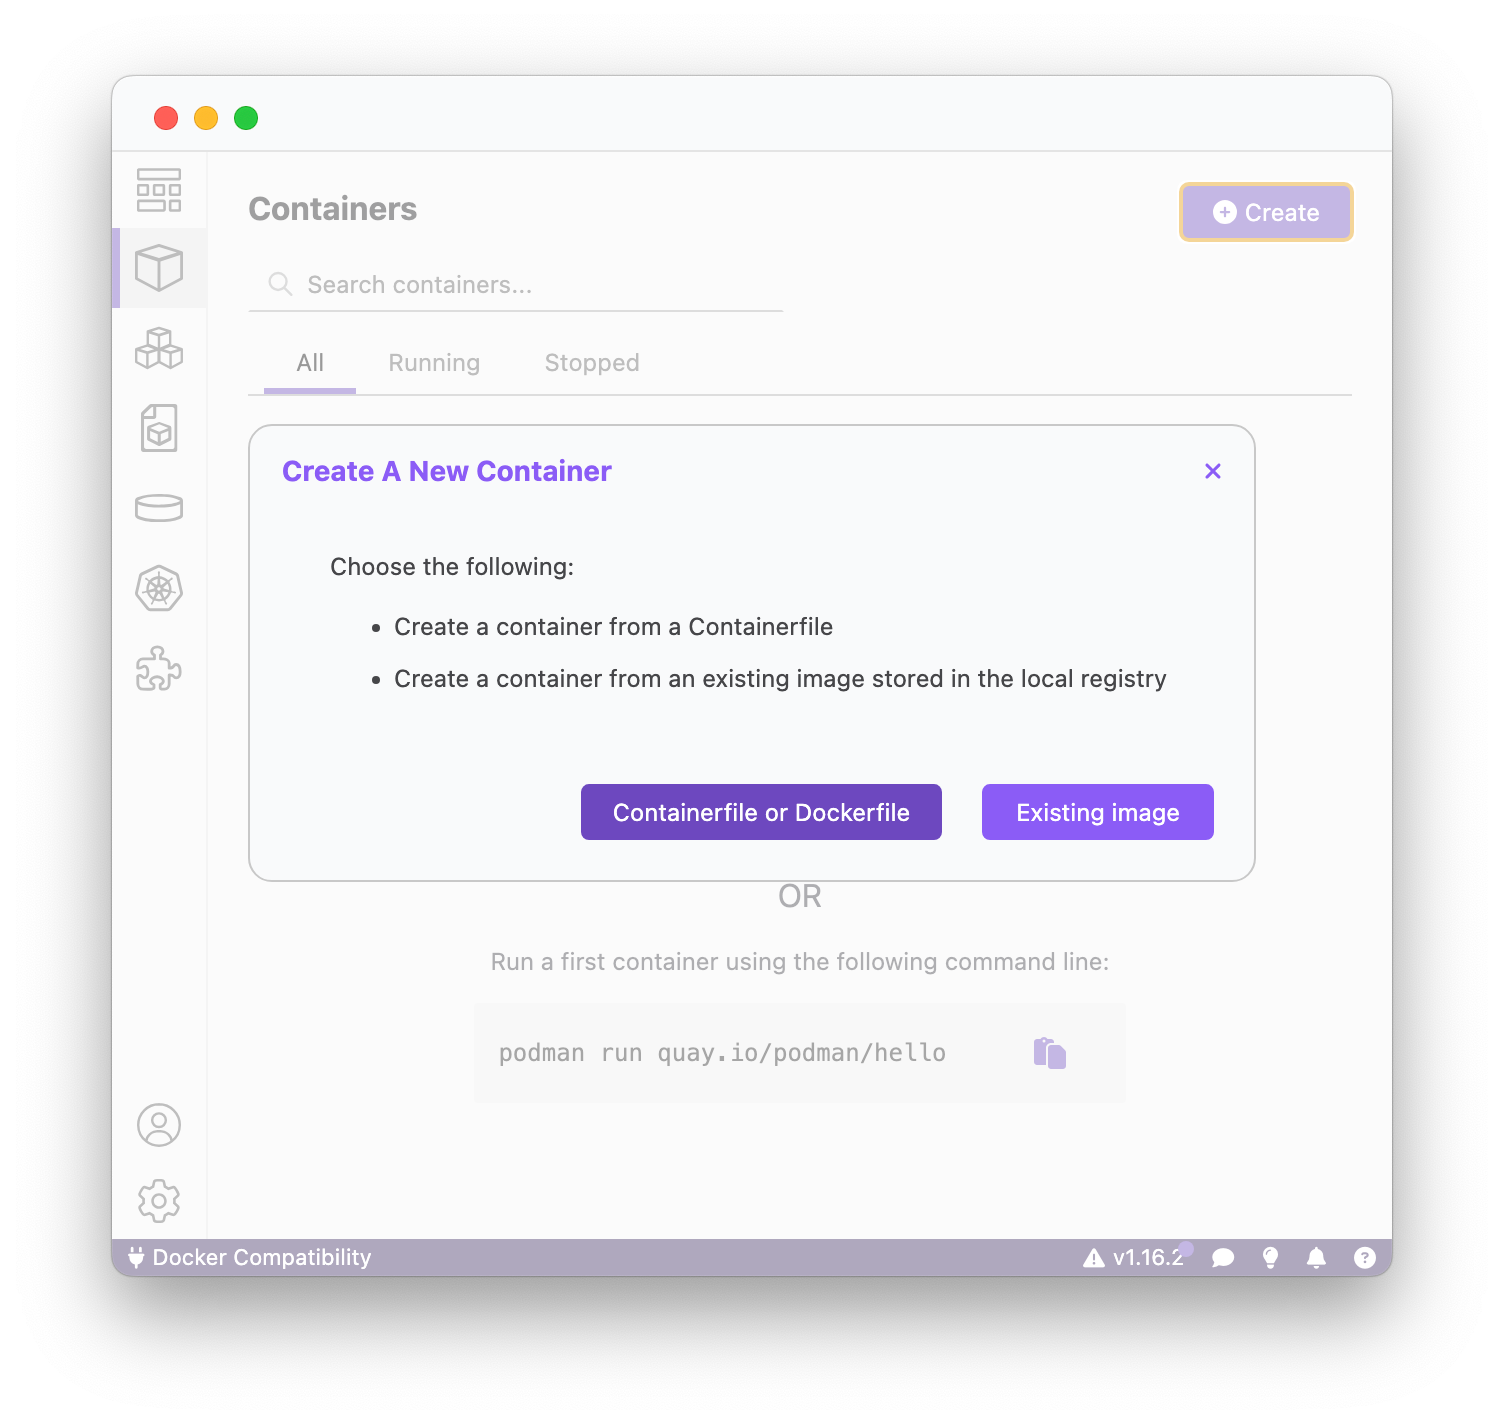
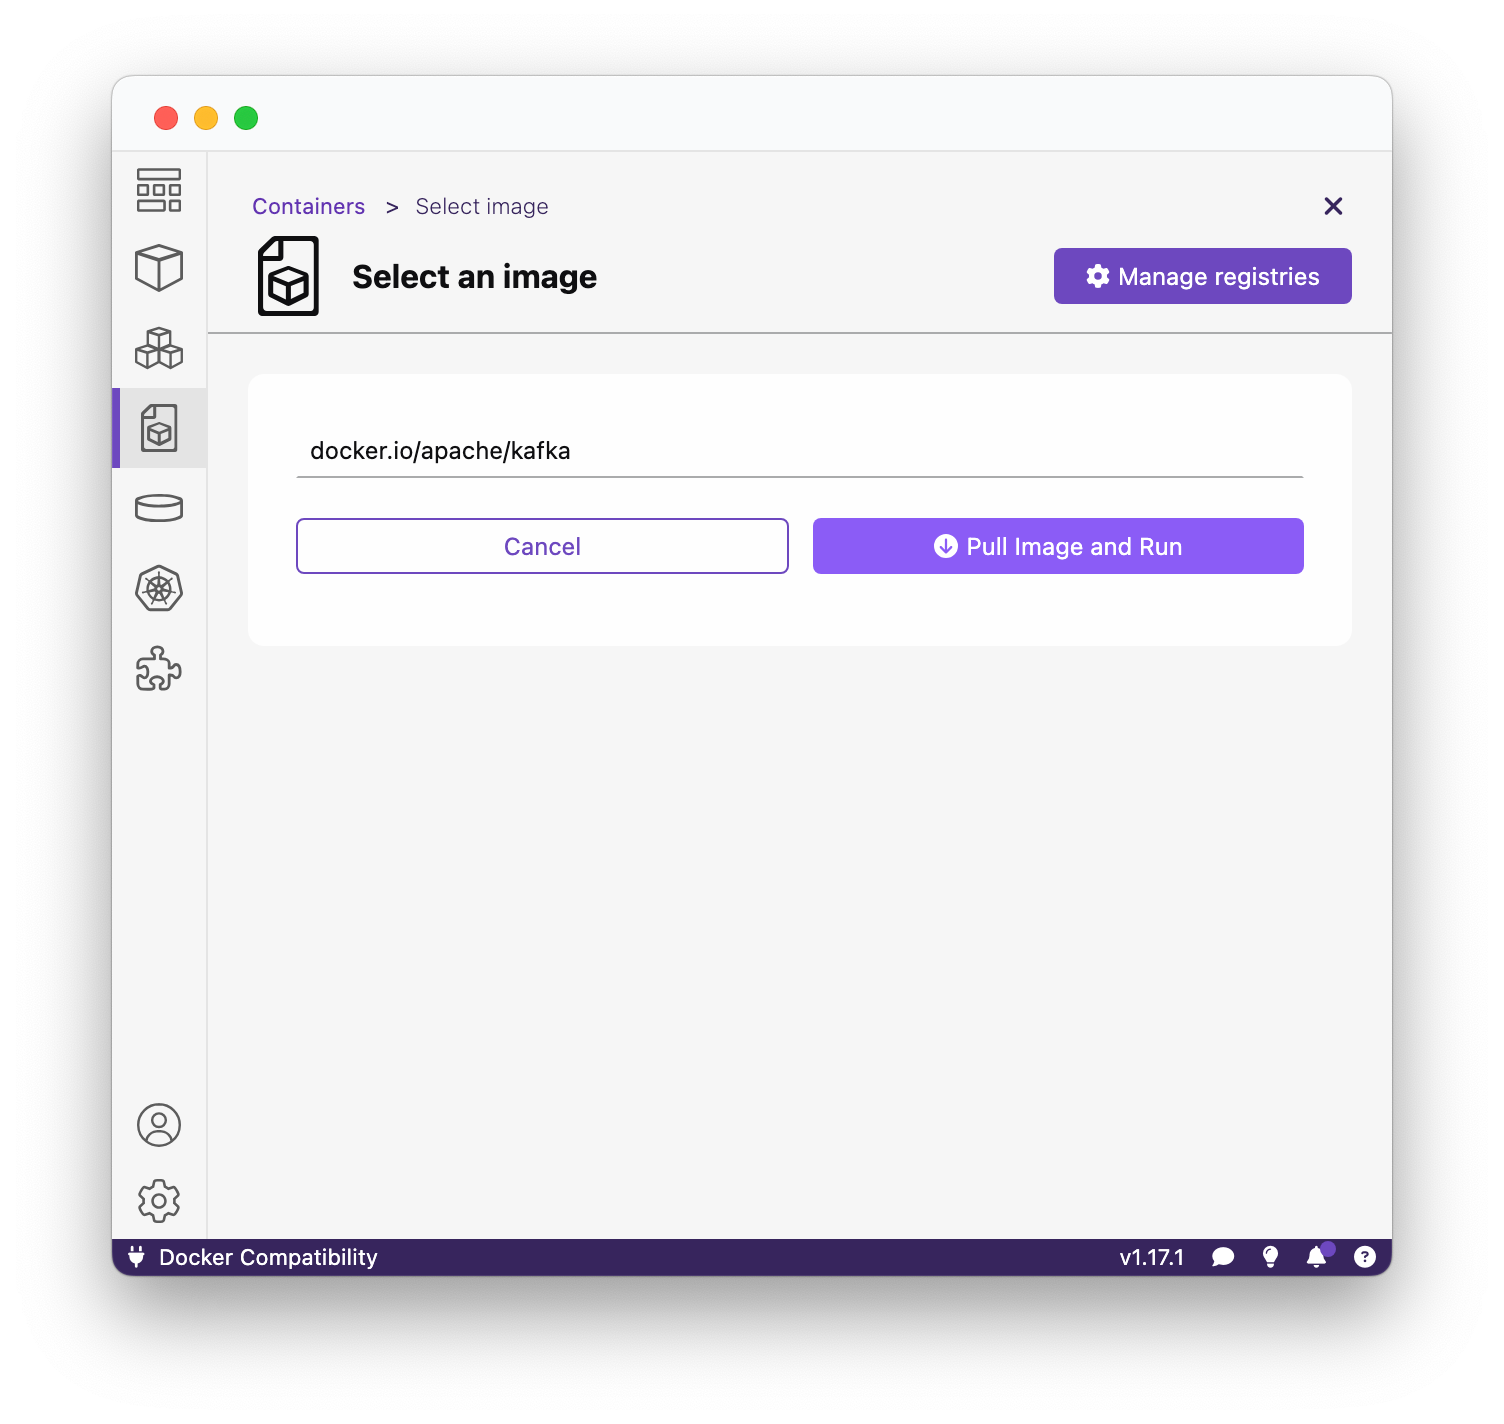
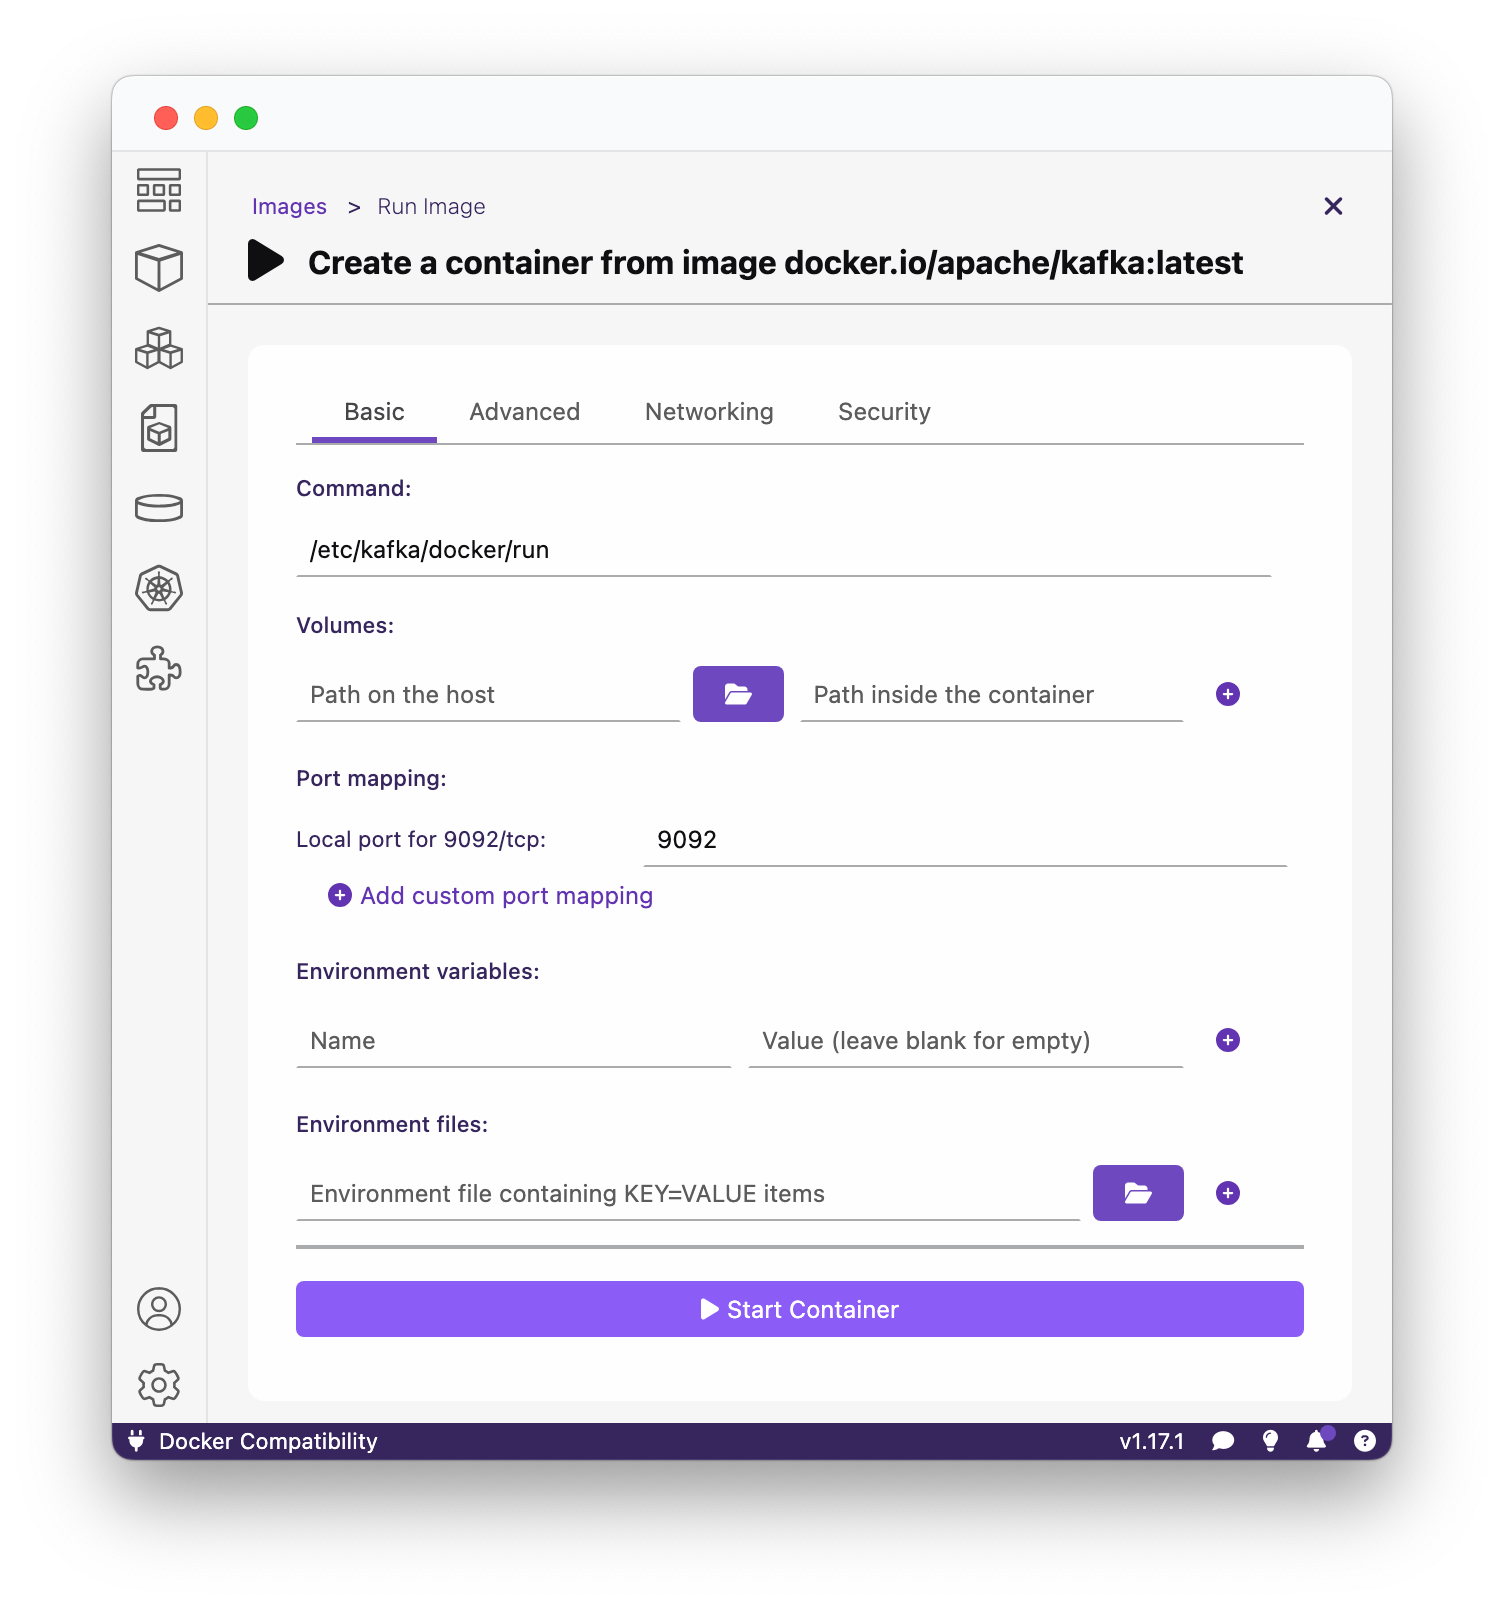
Done. That is literally everything there is to it. You now have Apache Kafka® available locally on your machine.
Connect to the Apache Kafka®-cluster
For this section we will use the Apache Kafka® provided as a plugin in IntelliJ IDEA Ultimate (and other professional JetBrains IDEs). If you do not use IntelliJ IDEA but still use Java, you can skip ahead to the next section.
Again, follow along with the screenshots.
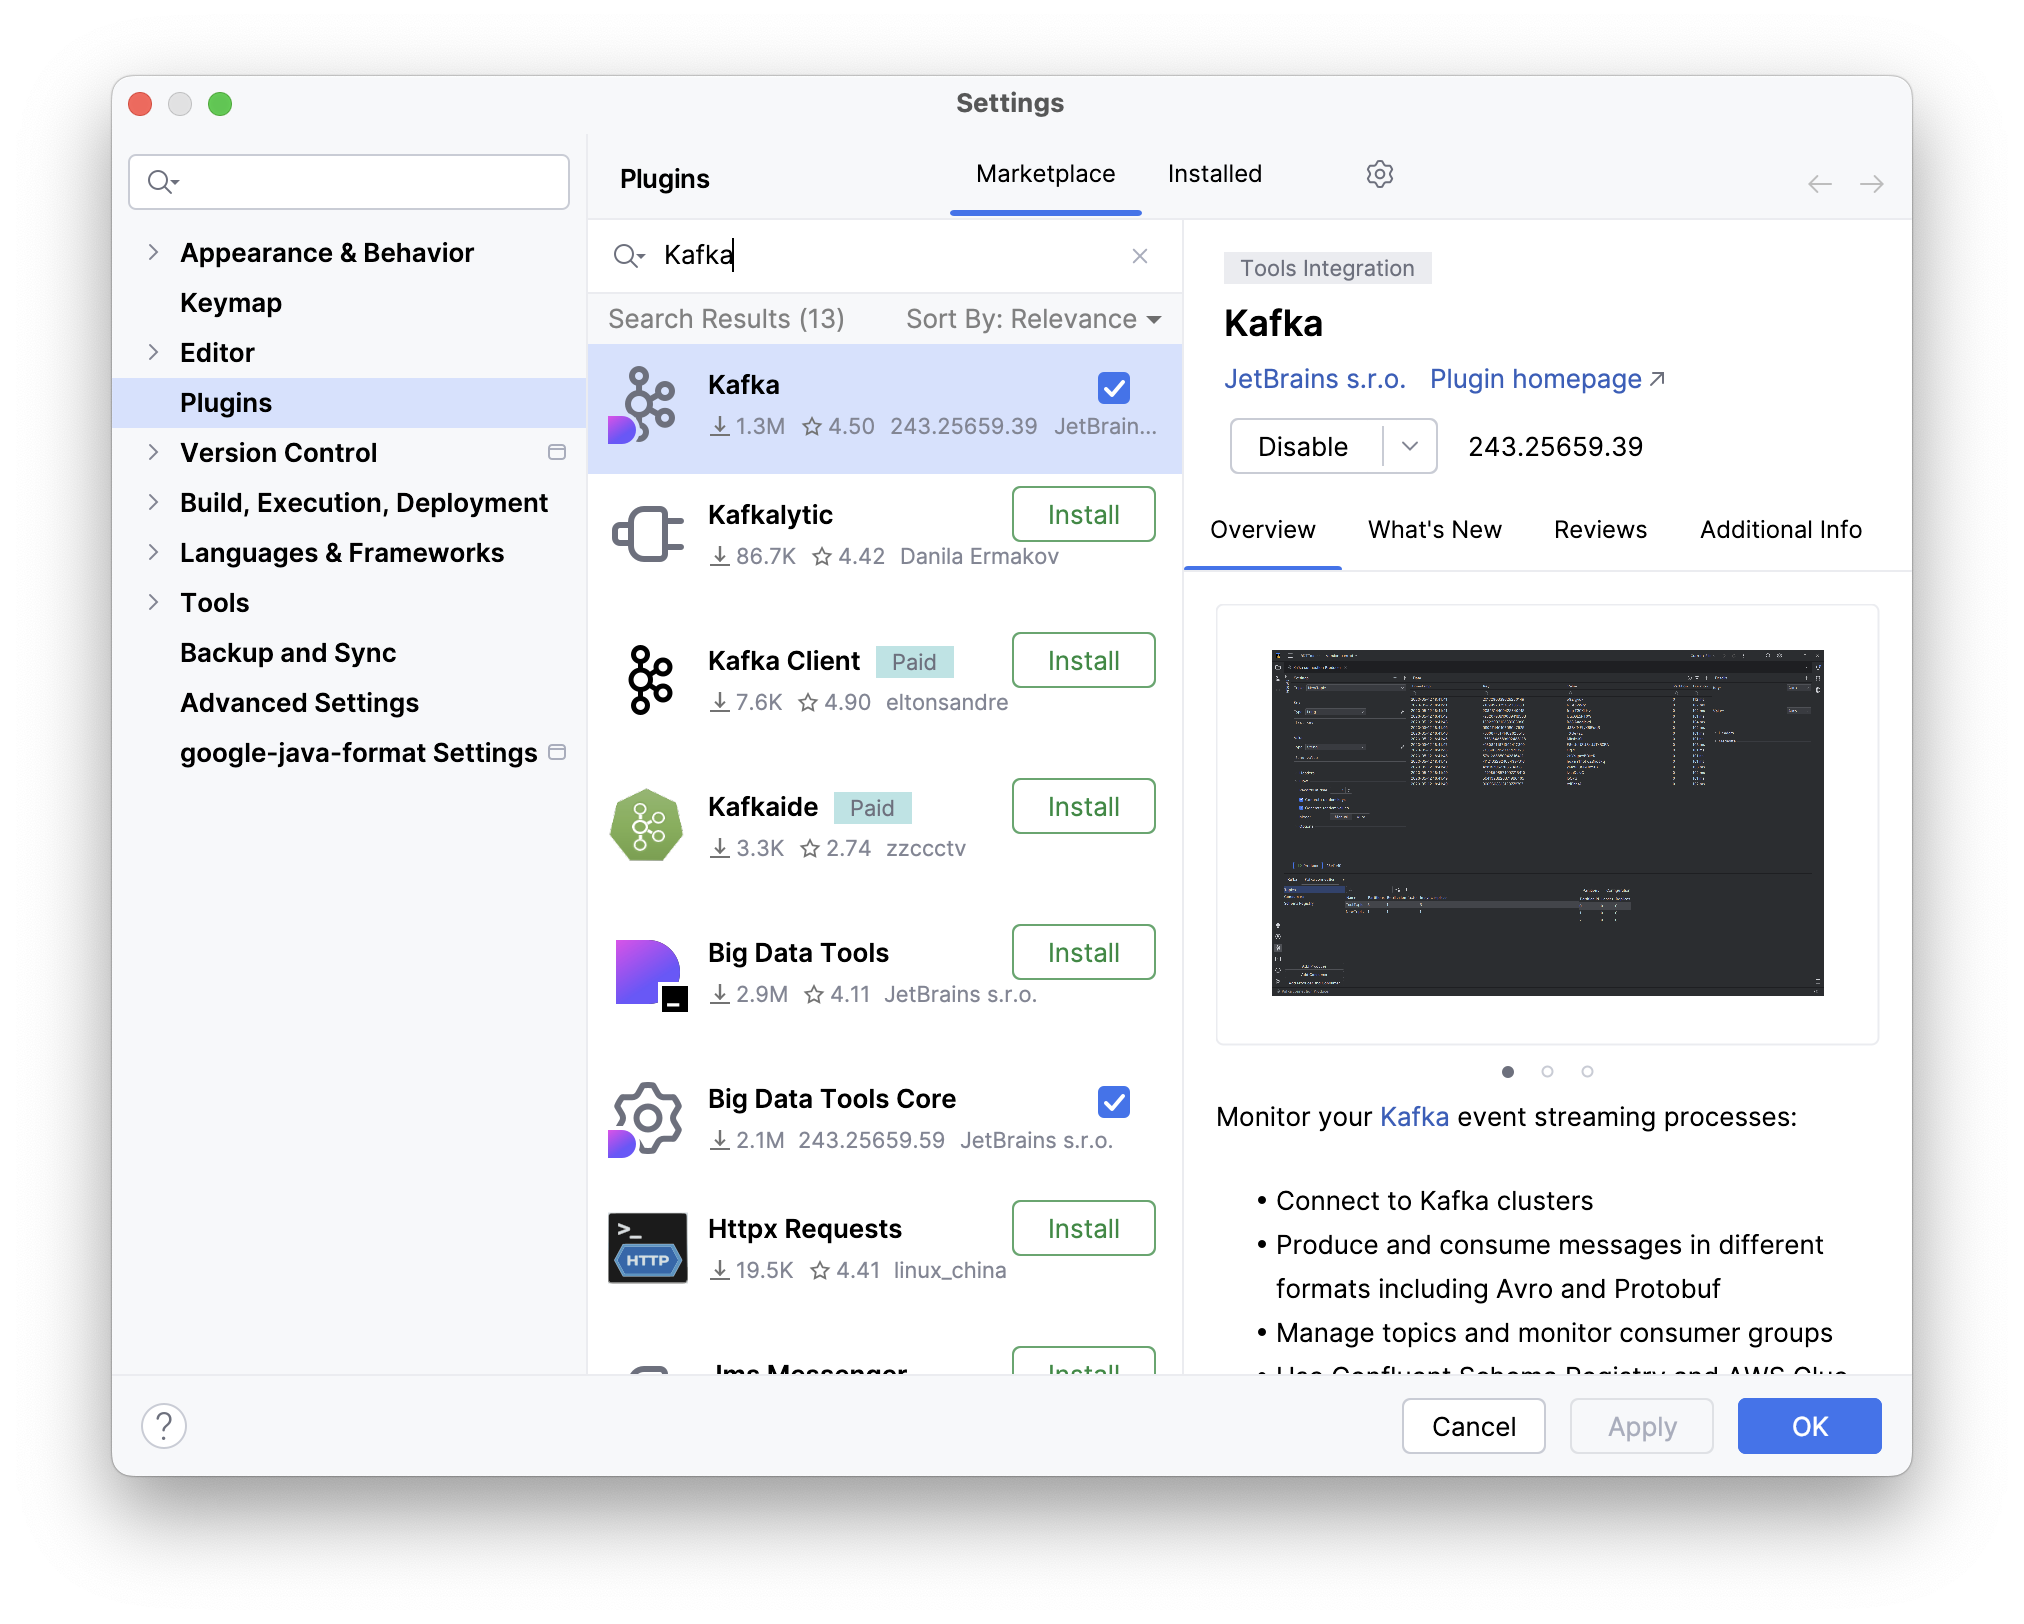
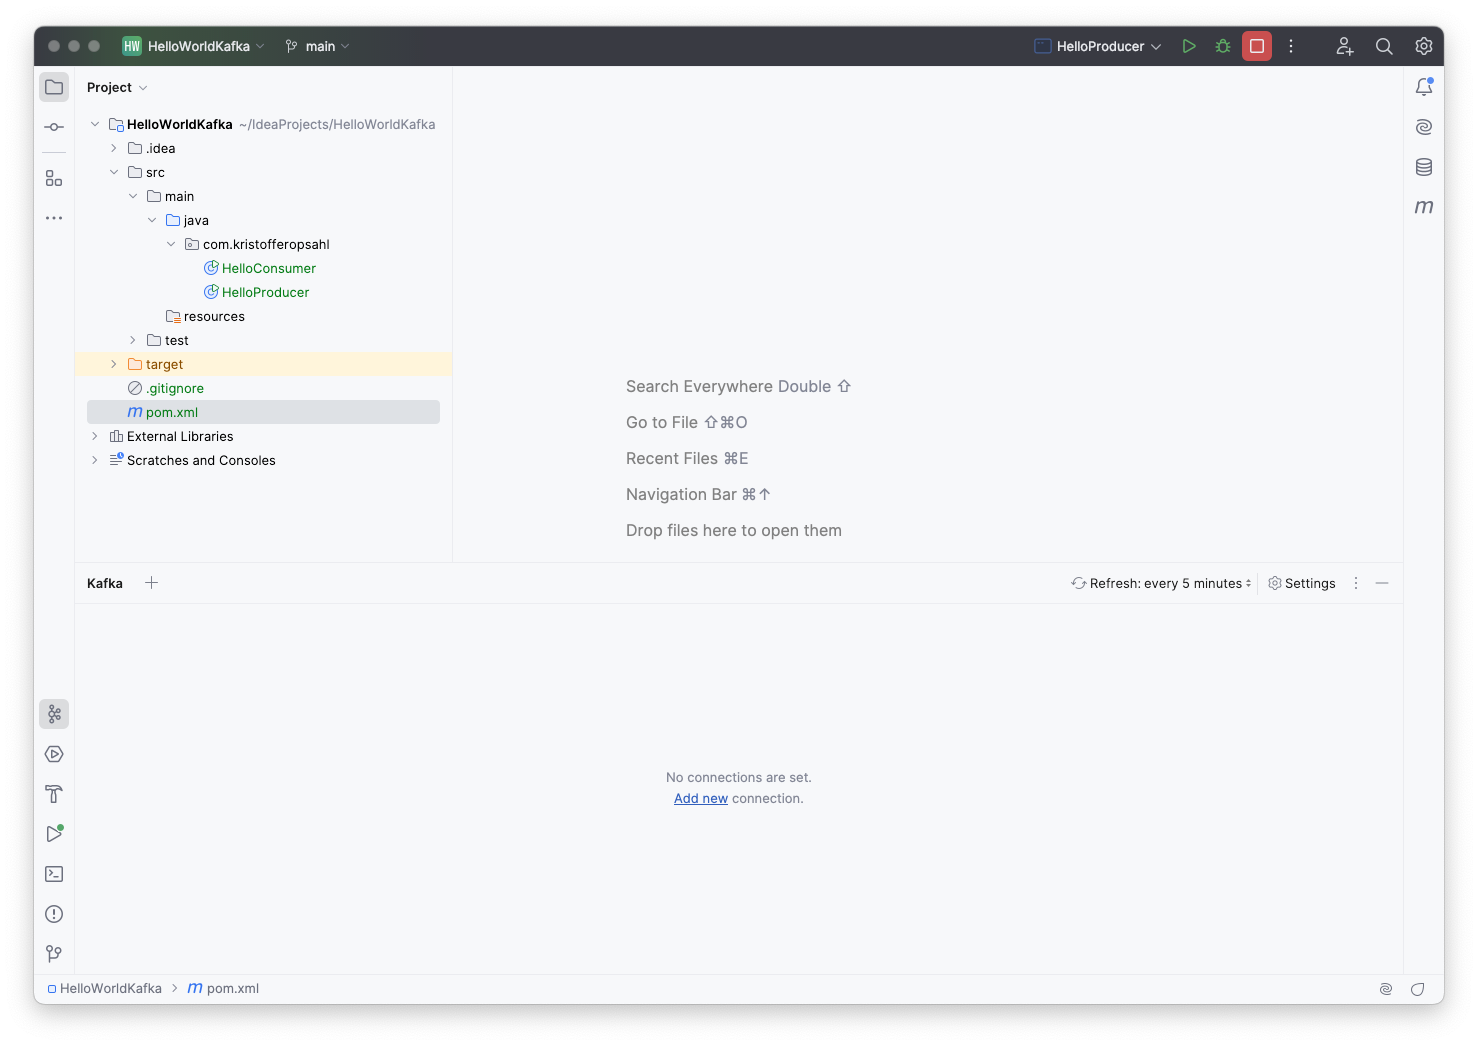
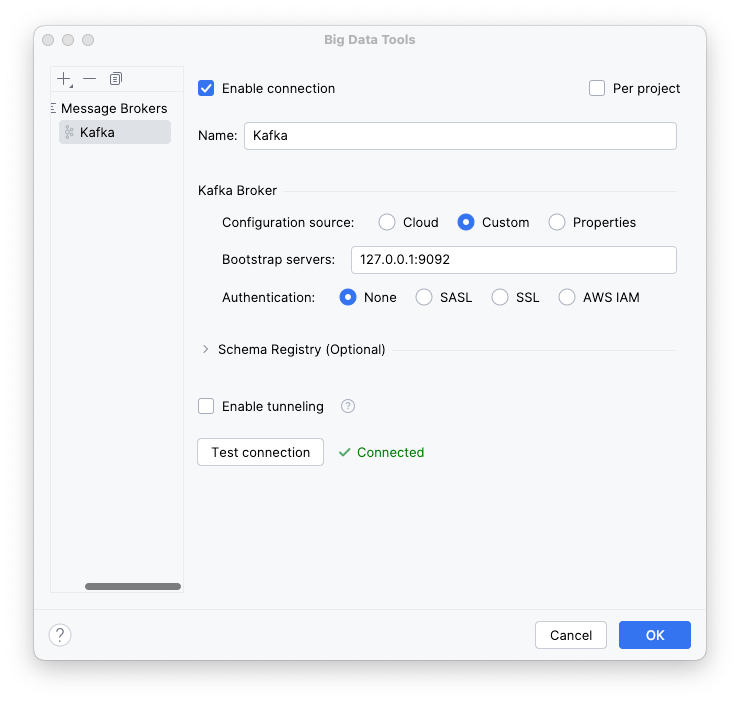
If the guide ended here, it would be natural to use the plugin to:
- Create a topic
- Create a producer
- Publish a record to the topic with the producer
- Create a consumer
- Consume the aforementioned record from the same topic with the consumer
But since this is what we'll be doing with Java in the next section, I will leave as "an exercise to the reader" to leave the Kafka panel open and try to interact with items as we create them with code.
Hello World in Apache Kafka® with Java
Start a new project in IntelliJ IDEA. I will use Maven for dependency management, but you can trivially use, e.g. Gradle. If you're not using Maven, find your import string at Maven Repository.
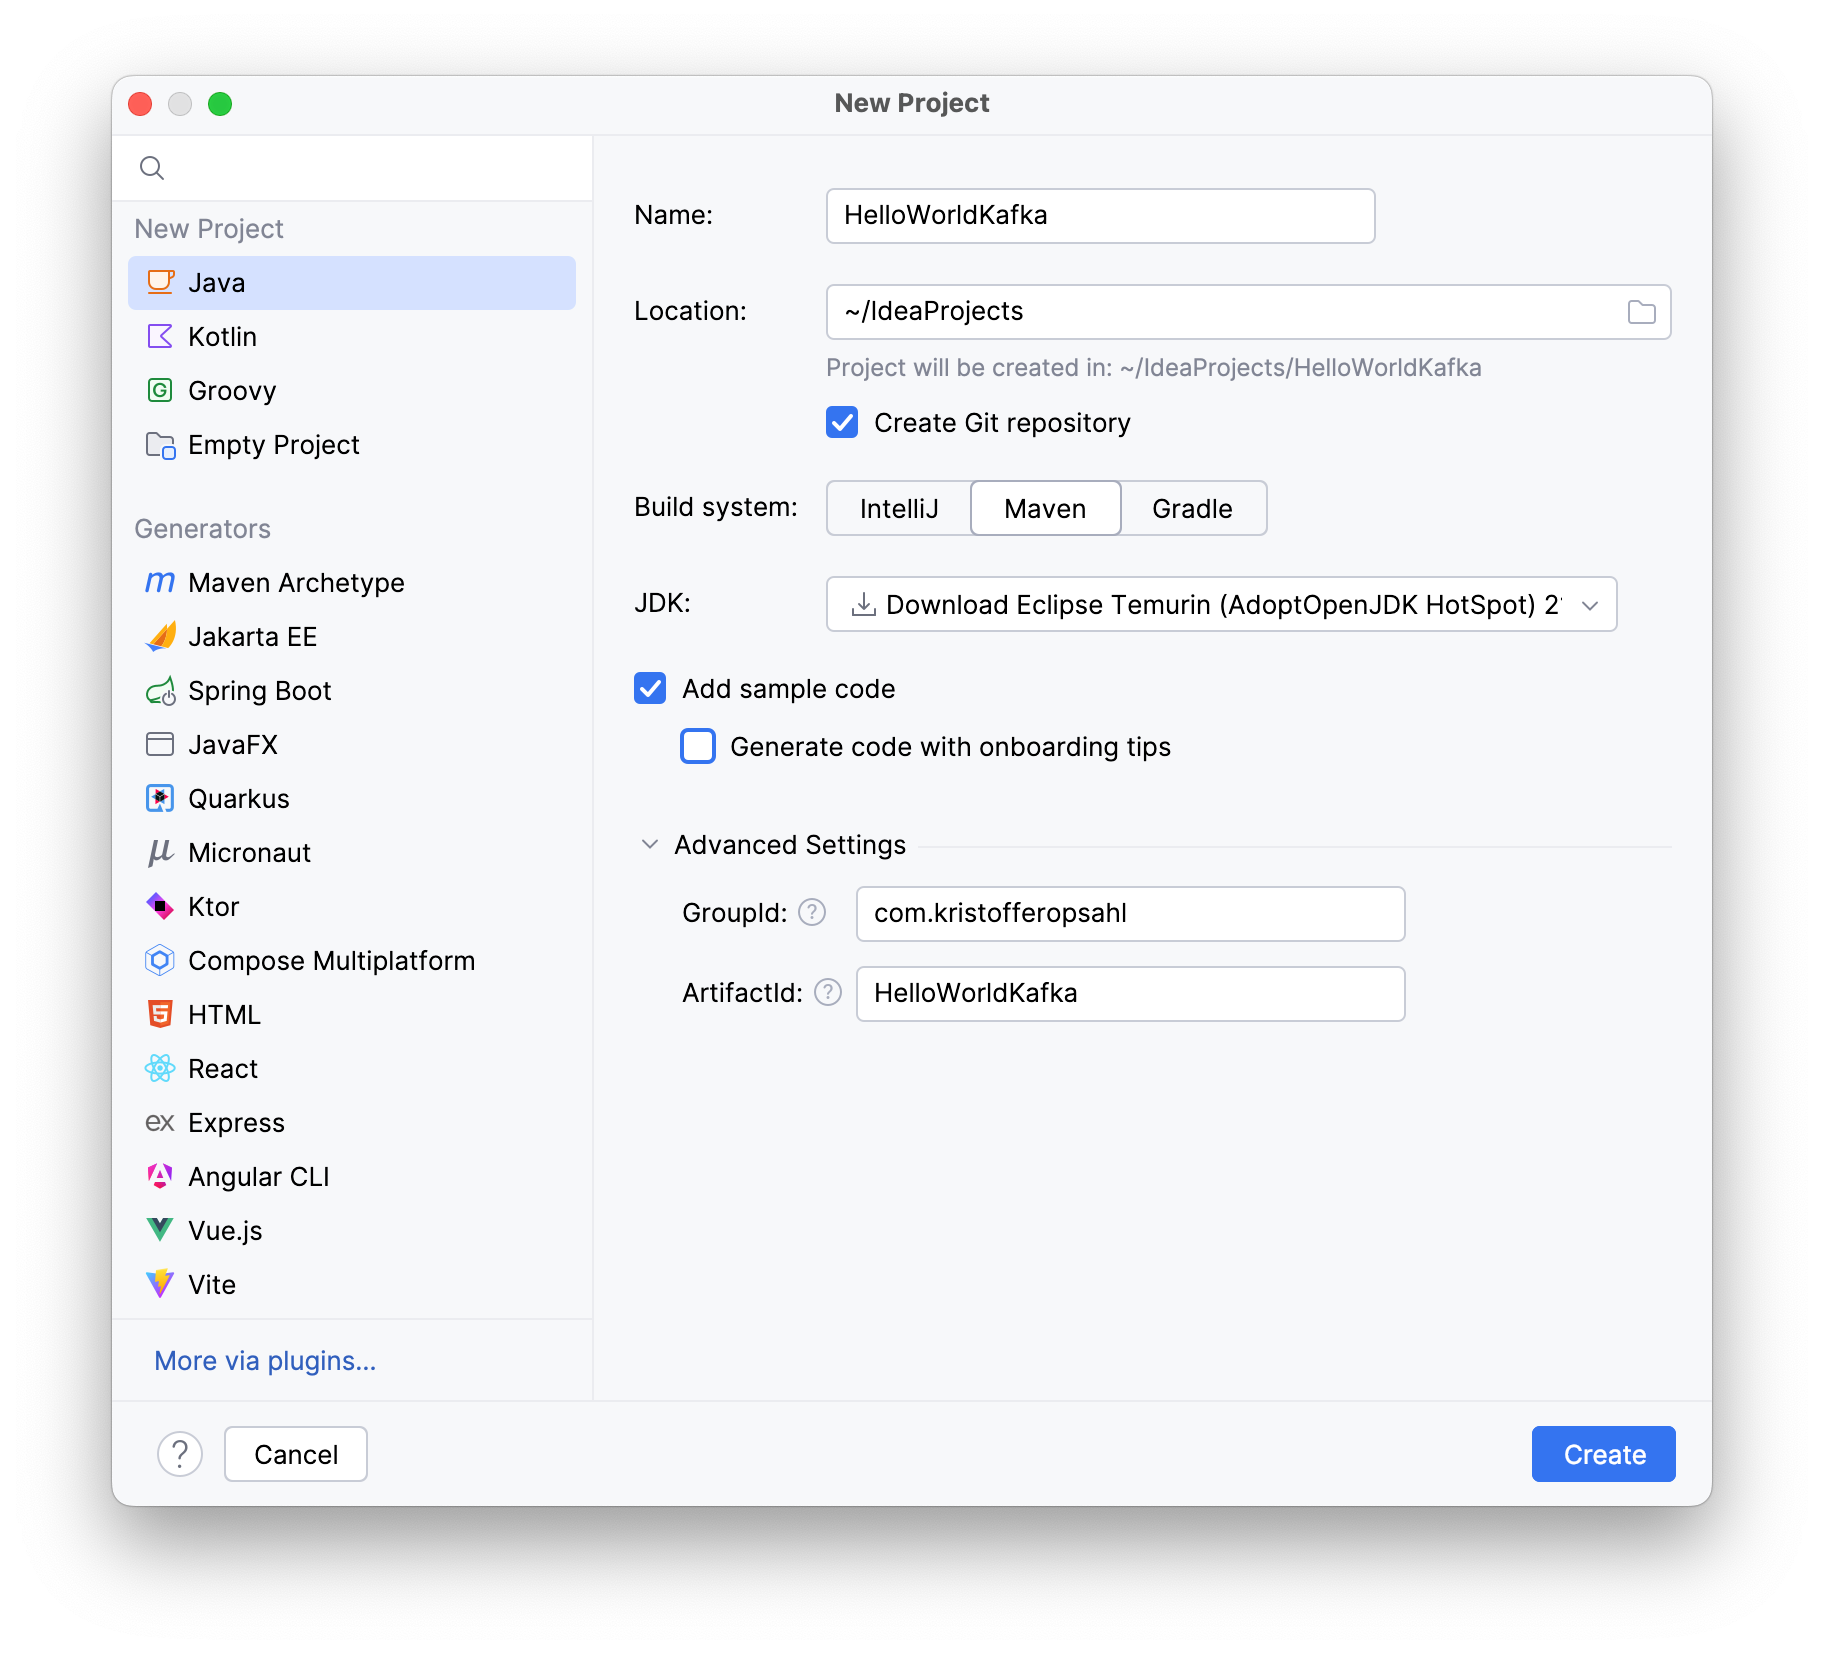
Add org.apache.kafka.kafka-clients to your dependencies:
<dependencies>
    <dependency>
        <groupId>org.apache.kafka</groupId>
        <artifactId>kafka-clients</artifactId>
        <version>3.9.0</version>
    </dependency>
</dependencies>
Add to your pom.xml
Java Code
I will shortly provide two classes for the producer and the consumer respectively, but first I will elaborate on their structure. Feel free to scroll ahead to follow along.
Both classes start by defining some configuration which determines the nature of their relationship to the Apache Kafka®-cluster. Using this configuration, we instantiate the KafkaProducer and KafkaConsumer client classes, which are provided by the kafka-clients dependency. Finally, the client classes perform their respective tasks vis-à-vis the "Hello, world!"-message.
They leverage ConsumerConfig and ProducerConfig, provided with the clients, which provides convenient access to the exhaustive set of configuration strings.
The "Hello, world!"-message must be serialized before it can be published to our test topic (conveniently named test-topic), and deserialized before it can be used by the consumer. The simplest possible option is using the provided classes for string serialization, namely StringSerializer and StringDeserializer. Note however that you can find other serializers in org.apache.kafka.common.serialization, and moreover that you can implement your own serializers for complex types.
The client classes KafkaProducer and KafkaConsumer are both instatiated by a try-with-resources statement. This is not a requirement, but it prevents us from explicitly having to call, e.g. KafkaProducer::close.
Withing the try-with-resouces blocks you will find the core of our example. The producer calls Producer::send with a topic and a value. The value in this case is the message we wish to send to our consumer: "Hello,world!". Likewise the consumer first calls Consumer::subscribe, to subscribe to the topic we will publish our message to. The topic is then repeatedly checked for new records with Consumer::poll in a loop. Note that the provided duration denotes the maximum time the consumer will wait if there are no new records on the topic. Furthermore, HelloConsumer is configured with a consumer group id (hello-consumer-group), making it part of a consumer group. This makes the Apache Kafka®-cluster automatically handle e.g. balancing and partition assignment.
You will notice that there are several generically typed classes. The provided types denote the key and value types of the records handled by those classes. For example: Producer<String, Integer> would denote a producer that publishes records with string-typed keys and integer-typed values. Likewise KafkaConsumer<String, String> denotes a consumer of records with strings for both keys and values. The code provided below only concerns itself with strings, and produces records without a key.
Without further ado, let's look at the code.
Creating the Producer
Create a class that will produce our "Hello, world!" record and publish it to our topic named "test-topic":
package com.kristofferopsahl;

import java.util.Properties;
import org.apache.kafka.clients.producer.*;
import org.apache.kafka.common.serialization.StringSerializer;

public class HelloProducer {
  public static void main(String[] args) {
    // Configuration
    Properties props = new Properties();
    props.put(ProducerConfig.BOOTSTRAP_SERVERS_CONFIG, "localhost:9092");
    props.put(ProducerConfig.KEY_SERIALIZER_CLASS_CONFIG, StringSerializer.class.getName());
    props.put(ProducerConfig.VALUE_SERIALIZER_CLASS_CONFIG, StringSerializer.class.getName());

    // Instantiate producer and publish record.
    try (Producer<String, String> producer = new KafkaProducer<>(props)) {
      producer.send(new ProducerRecord<>("test-topic", "Hello, World!"));
    }
  }
}
Creating the Consumer
Subsequently add a class that will subscribe to "test-topic", and print the value -field of any records that are published to it:
package com.kristofferopsahl;

import java.time.Duration;
import java.util.Properties;
import java.util.Set;
import org.apache.kafka.clients.consumer.ConsumerConfig;
import org.apache.kafka.clients.consumer.ConsumerRecords;
import org.apache.kafka.clients.consumer.KafkaConsumer;
import org.apache.kafka.clients.producer.ProducerConfig;
import org.apache.kafka.common.serialization.StringDeserializer;

public class HelloConsumer {
  public static void main(String[] args) {
    // Configuration
    Properties props = new Properties();
    props.put(ConsumerConfig.BOOTSTRAP_SERVERS_CONFIG, "localhost:9092");
    props.put(ConsumerConfig.KEY_DESERIALIZER_CLASS_CONFIG, StringDeserializer.class.getName());
    props.put(ConsumerConfig.VALUE_DESERIALIZER_CLASS_CONFIG, StringDeserializer.class.getName());
    props.put(ConsumerConfig.GROUP_ID_CONFIG, "hello-consumer-group");

    // Instantiate consumer, and consume record(s).
    try (KafkaConsumer<String, String> consumer = new KafkaConsumer<>(props)) {
      consumer.subscribe(Set.of("test-topic"));
      while (true) {
        ConsumerRecords<String, String> records = consumer.poll(Duration.ofSeconds(1L));
        records.forEach(record -> System.out.println(record.value()));
      }
    }
  }
}
Running the Program
We have not configured our consumer to replay messages from the start of the topic; it will only consume records that are published while it is connected to the Apache Kafka®-cluster. In other words, the order of operations is important
- First, start HelloConsumer.
- Second, with HelloConsumer running, start HelloProducer.
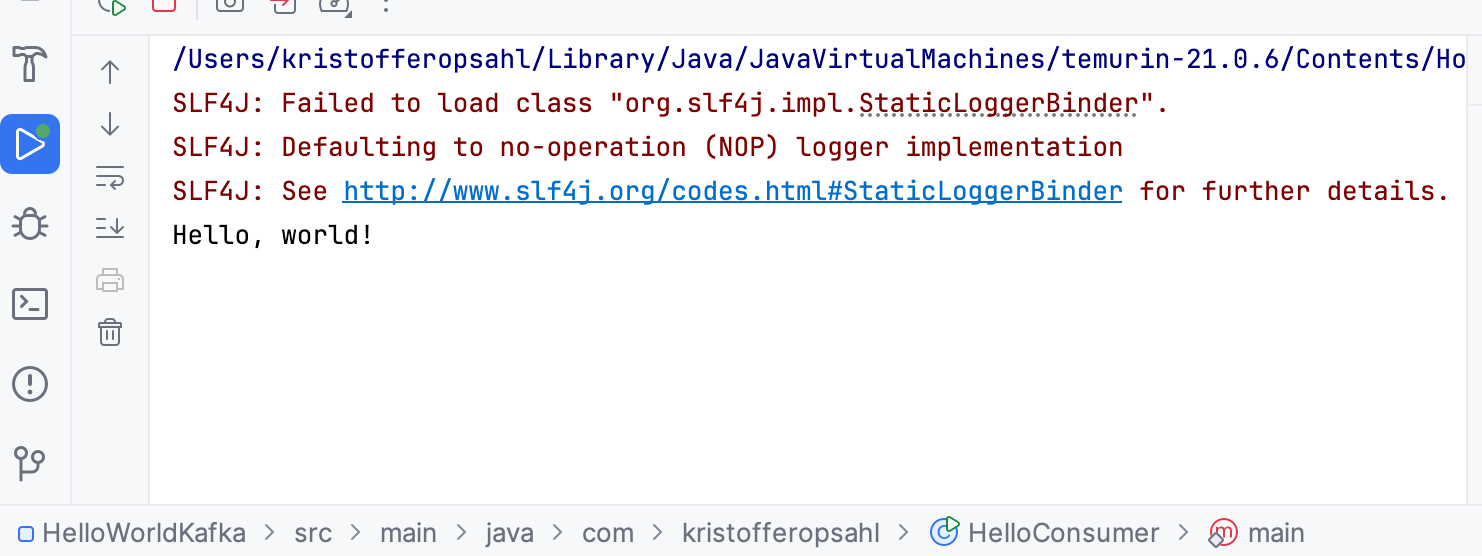
Monitor the output of HelloConsumer, and you should soon see the following:
Summary
In this article we installed and configured Apache Kafka® for local development using Podman and IntelliJ IDEA. We wrote the simplest possible pair of producers and consumers to publish and consume a "Hello, world!"-message.
